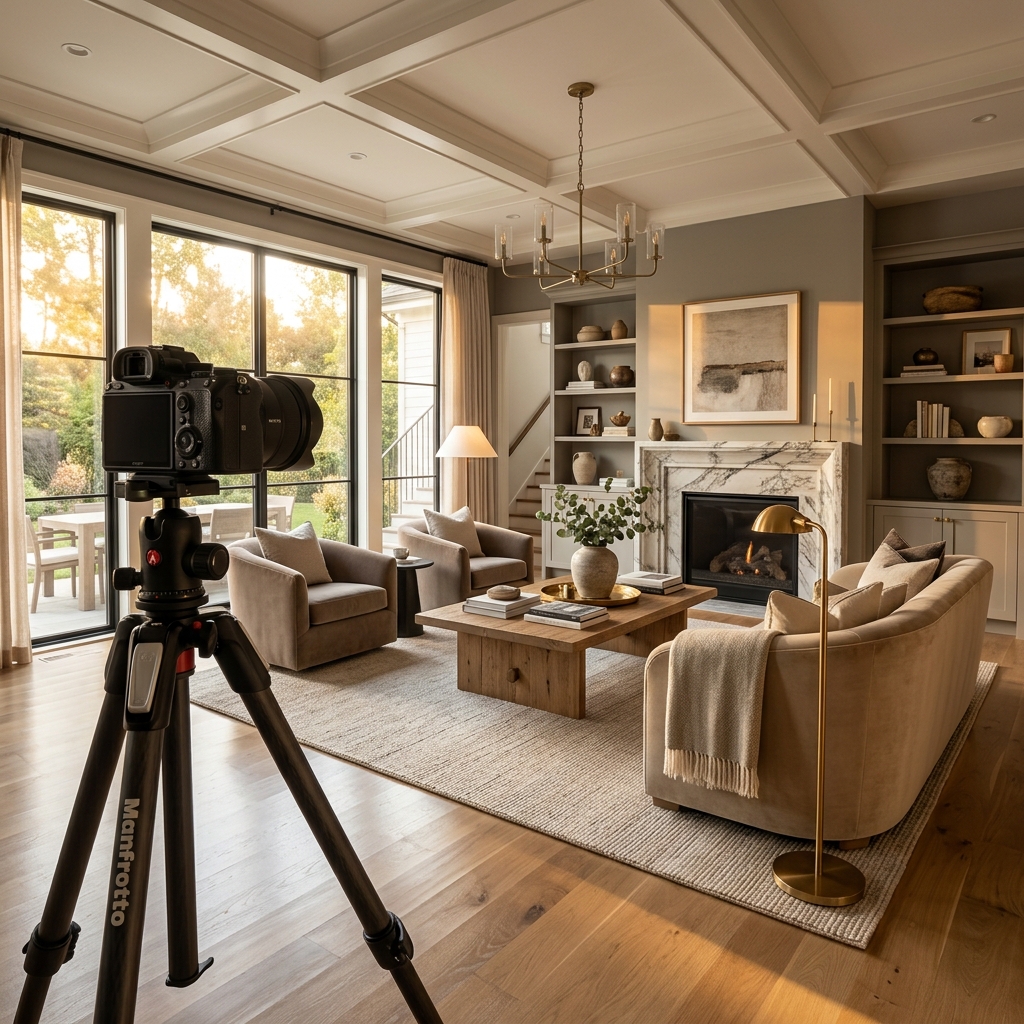
The difference between a listing that gets 50 saves on Zillow and one that gets 500 often comes down to one thing: how well the property was prepared before the camera arrived. Professional real estate photography amplifies whatever state the home is in — if it's polished, the photos will be stunning. If it's cluttered, the photos will show that too.
Here's the exact prep workflow that top-producing agents use before every shoot.
The 24-Hour Rule
Start preparing the property at least 24 hours before the scheduled shoot. Same-day prep is rushed and shows in the final images. This gives you time to address issues and come back for a final walkthrough.
Interior Preparation
Declutter Every Surface
This is the single highest-impact prep step. Remove everything that isn't intentionally decorative from:
- Kitchen counters — clear off appliances, dishes, mail, and magnets from the fridge
- Bathroom counters — remove all personal products, towels, and bath mats
- Nightstands and dressers — clear phones, chargers, medicine, and personal items
- Living room surfaces — remove remotes, magazines, and random objects
- Closets — if walk-in closets will be photographed, organize and thin out by 40%
Lighting Matters More Than You Think
Professional photographers bring their own lighting equipment, but the baseline lighting in the home sets the tone:
- Turn on every light in the house — ceiling lights, lamps, under-cabinet lighting, sconces
- Replace burned-out bulbs — this is obvious in photos and suggests deferred maintenance
- Match bulb temperatures — mixing warm (yellow) and cool (white) bulbs creates an uneven, unprofessional look. Aim for consistent 3000K–4000K across the home
- Open all blinds and curtains — natural light is critical. The photographer will adjust individual windows for glare control
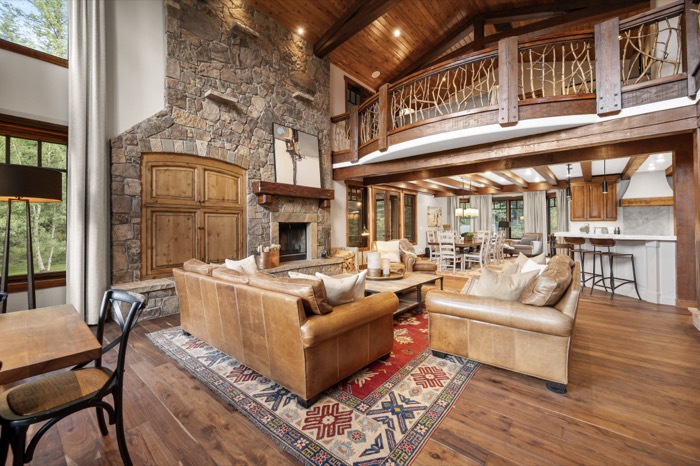
Staging Essentials
You don't need a full staging company. These small touches create a magazine-quality look:
- Fresh flowers or greenery on the dining table and kitchen island
- Coordinated throw pillows on the sofa and primary bed
- Folded towels (white or neutral) in bathrooms
- A bowl of fruit on the kitchen counter — it photographs beautifully
- Coffee table books or a single decorative object per surface
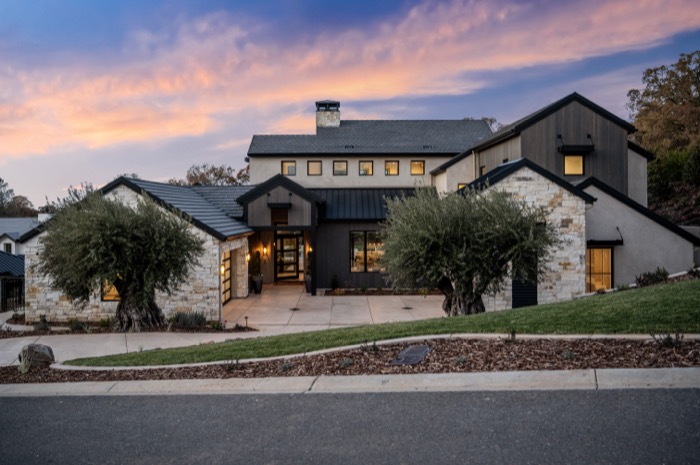
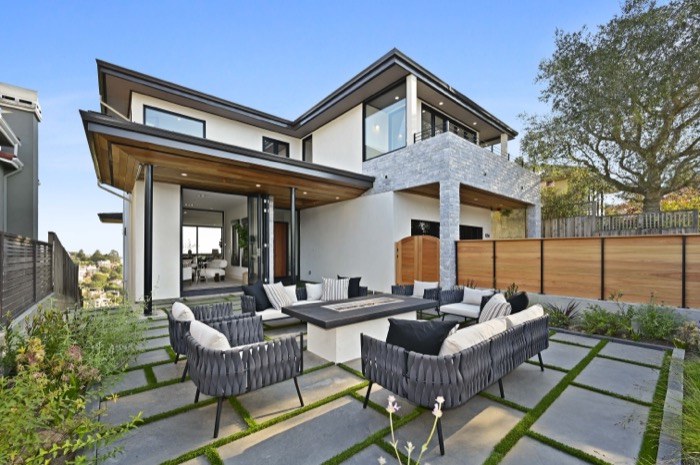
Exterior Preparation
The front exterior shot is the MLS hero image — it's the first thing buyers see in search results. Don't skip this.
- Mow and edge the lawn — freshly cut grass photographs dramatically better
- Clear the driveway — move all vehicles off the property
- Hide trash cans, hoses, and garden tools
- Power wash the driveway and walkways if visibly dirty
- Sweep the porch and clean the front door
- Turn on any exterior accent lighting — especially for twilight shoots
The 30-Minute Pre-Shoot Walkthrough
Right before the photographer arrives:
- Walk through every room and look at each surface. Remove anything that doesn't belong.
- Check every light — if it's off, turn it on.
- Check every toilet lid — close them all.
- Close garage doors.
- Make all beds with fresh, wrinkle-free linens.
- Set the thermostat to 72°F (so the photographer is comfortable and any fans don't create noise for video).
- Put away pet bowls, beds, and toys.
- Do a final sweep of the backyard — pick up any debris.
What NOT to Do
- Don't leave the TV on — it creates a distracting glare in photos
- Don't light candles — they don't photograph well and create fire risk with equipment
- Don't hang new art the day of the shoot — the photographer needs to work with what's there, not adjust around fresh nail holes
- Don't over-stage — more is not better. Aim for clean, minimal, and intentional
The Investment Pays Off
According to the National Association of Realtors, professionally photographed homes sell 32% faster and for up to 3–11% more than homes with amateur photos. But the photos are only as good as the preparation.
Agents who invest 1–2 hours prepping a listing before the shoot consistently see better results than those who rely on the photographer to "make it work."
Ready to Book?
CLOUT. handles the technical side — you handle the prep. Book your shoot in under 2 minutes and receive gallery-quality images within 24 hours.
Frequently Asked Questions
Quick answers to the most common questions about this topic.
- How long should I spend prepping a listing for photos?
- Most properties need 1–2 hours of preparation before a professional photo shoot. Luxury or larger homes may need 3–4 hours. Schedule your prep for the morning of the shoot, focusing on decluttering surfaces, cleaning windows, and ensuring all lights work.
- Should I stage a vacant property before the photo shoot?
- Yes — staged homes photograph significantly better than empty rooms. If full staging isn't in the budget, consider virtual staging as a cost-effective alternative. CLOUT. can recommend staging partners in your market.
- What's the biggest mistake agents make before a photo shoot?
- Leaving personal items, clutter, and distractions in the frame. Professional photographers will move small items, but they shouldn't have to spend 30 minutes decluttering. The second most common mistake is not turning on all interior lights.
- Do I need to be at the property during the shoot?
- It's helpful but not required. If you can't be there, make sure the photographer has lockbox or key access, all lights are on, and the thermostat is set to a comfortable temperature (especially for Matterport shoots where the photographer may be inside for 1–2 hours).
Ready to elevate your listings?
Book a professional shoot in under 2 minutes. Photos delivered in 24 hours.
Book a Shoot →